Making your own grain spawn is the step that turns a hobby grower into a confident one. It lets you expand a single culture into enough spawn for several large grows at a fraction of the cost.
What you need
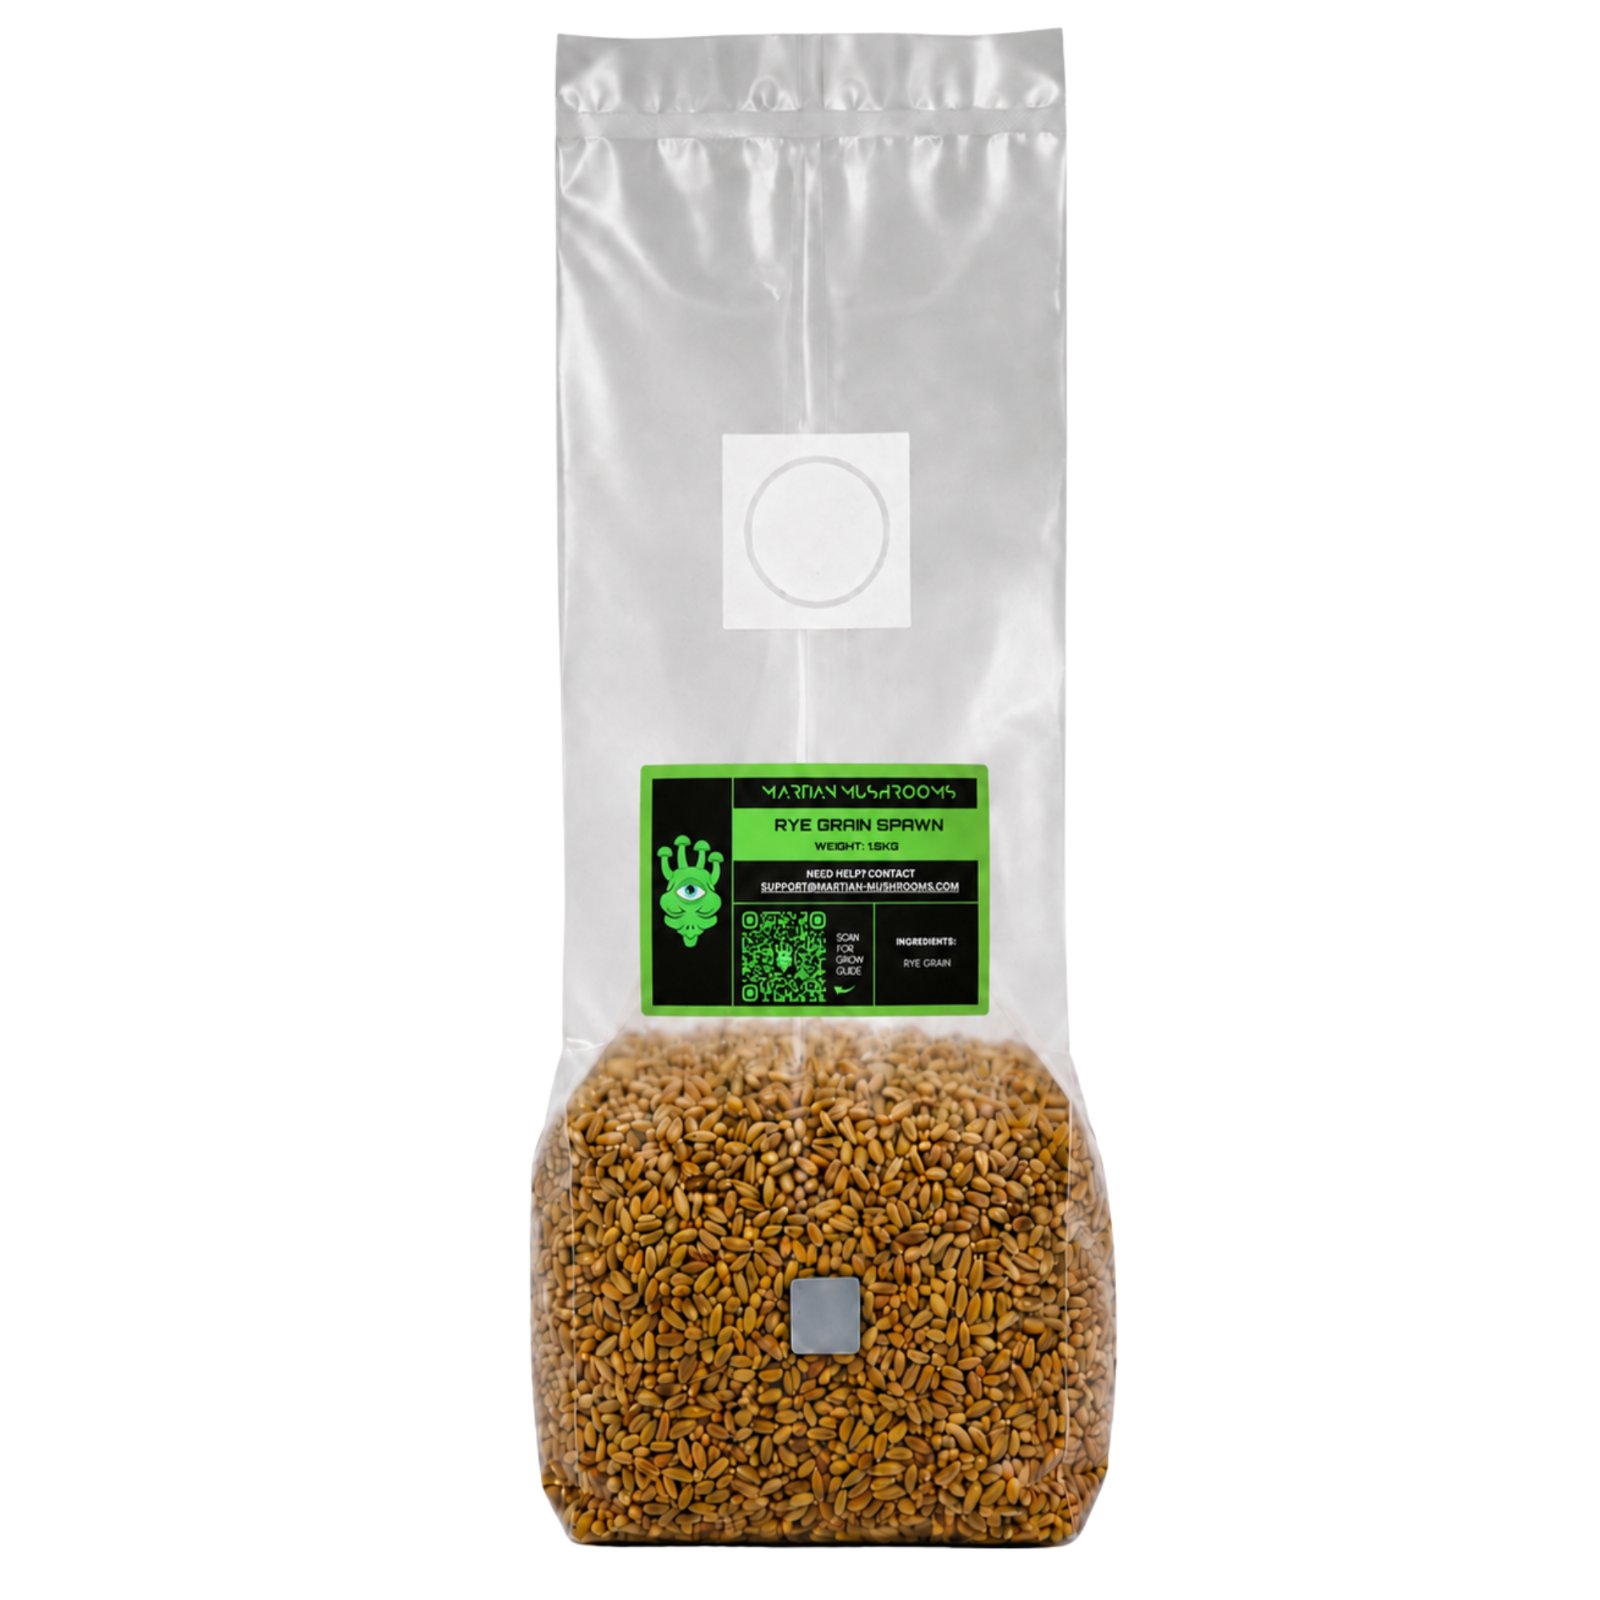
- Millet or rye grain
- A large pan and a colander
- Filter patch grow bags or jars with filter lids
- A pressure cooker that reaches 15 psi
- Liquid culture, gloves and 70% IPA
1. Hydrate the grain
Rinse the grain until the water runs clear, then soak it for 12 to 24 hours. Simmer it for 10 to 15 minutes until the grains have swollen but not split, then drain well and spread it out to steam dry until there is no visible surface water.
Watch out: grain that is too wet is the most common cause of bacterial contamination. If the grains stick together or look shiny, dry them for longer.
2. Fill and sterilise
Fill bags or jars around two thirds full. Fold bag tops so the filter patch faces up, then sterilise at 15 psi for 90 minutes. Let everything cool completely before opening the cooker.
3. Inoculate
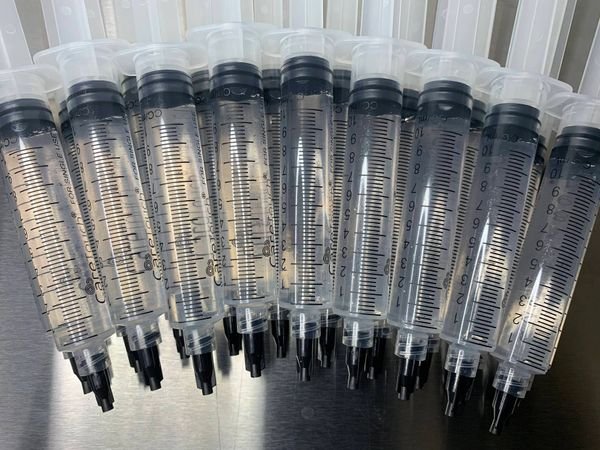
In a still air box or in front of a flow hood, inject 2 to 3ml of liquid culture per jar or 3 to 5ml per bag. Seal immediately.
4. Incubate
Keep the spawn at 20 to 24°C in the dark. Shake once it is around 30% colonised and use it within a week or two of full colonisation.
Frequently asked questions
Which grain is best for spawn?
Millet gives more inoculation points and spreads evenly, while rye is forgiving and holds moisture well. Both work very well.
Can I sterilise grain without a pressure cooker?
Not reliably. Boiling does not kill bacterial endospores, so a pressure cooker is essential.
How do I know my grain spawn is ready?
It is fully white throughout, with grains bound together by mycelium and no wet or discoloured patches.